
Performing a valve adjustment on a 2003 Honda Odyssey with a 3.5L engine is an important maintenance task to ensure that the engine operates efficiently and smoothly. Here's a simplified overview of the process:
Note: Valve adjustment requires mechanical skill and experience, it's best to consult a professional mechanic.
Prepare Your Workspace: Start with a cool engine, and make sure the vehicle is on a level surface. Disconnect the battery to avoid accidental starts.
Remove Necessary Components: You may need to remove the engine cover and intake components to access the valve cover. Be careful when removing any hoses or electrical connectors. Keep track of the parts you remove.
Locate the Valve Cover: The valve cover is usually found on top of the engine and is often marked with the engine's displacement (in this case, 3.5L).

Remove the Valve Cover: Carefully remove the bolts holding the valve cover in place. Once removed, set the cover aside.
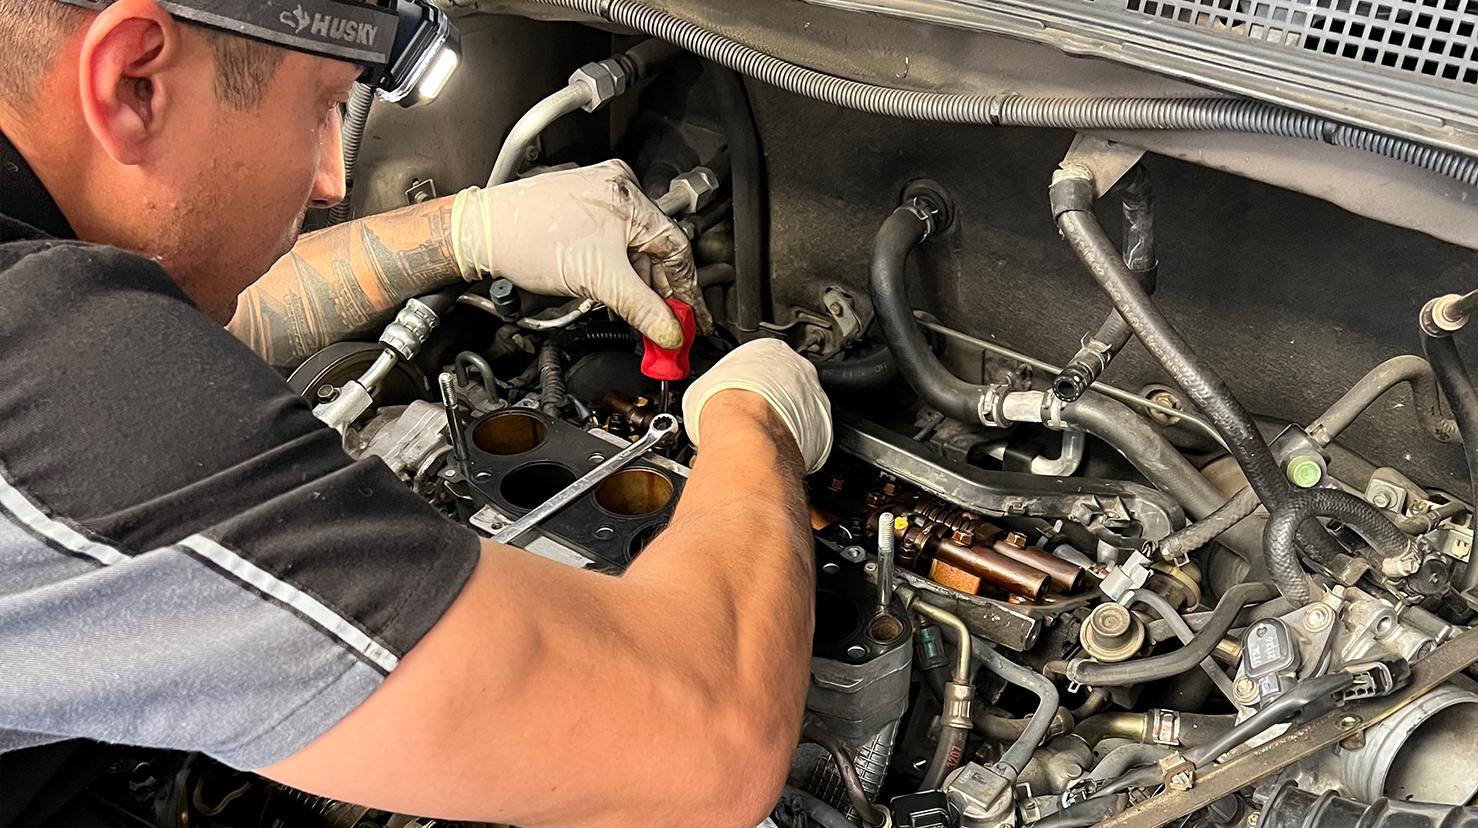
Locate the Valves: We'll see the camshafts and the valves underneath. Refer to the vehicle's service manual for the exact order and specifications for adjusting each valve.

Adjust the Valves: The goal is to set the valve clearance (gap) to the manufacturer's specifications. Using the feeler gauge, check and adjust the clearance for each valve. If a valve is too tight or too loose, use the appropriate wrench to adjust the rocker arm nut until the correct clearance is achieved. Be very precise in following the specifications in the service manual.
Reassemble: After adjusting all the valves, reassemble the valve cover, intake components, and any other parts removed.

Torque Bolts: Tighten the valve cover bolts to the manufacturer's recommended torque specifications. This is crucial to prevent oil leaks and damage.
Connect the Battery: Reconnect the battery and start the engine to ensure it runs smoothly.
Check for Leaks: Inspect the valve cover and surrounding areas for any oil leaks. If notice leaks, address them promptly.
Test Drive: Take the vehicle for a test drive to verify that the engine is running smoothly and efficiently.
Record and Maintain: Keep a record of when you performed the valve adjustment, as this is part of your vehicle's maintenance history.
Remember, the process may vary slightly based on your vehicle's specific model and engine. Always consult the service manual for precise instructions and torque specifications to ensure a successful valve adjustment.